How to make quick and easy Rocky Road Fudge in 15 minutes or less with the microwave – no stove required!
This post contains affiliate links for Amazon and Etsy. If you make a purchase by clicking on them, I make a small commission at no extra cost to you. Thanks for your support!
In a hurry? Pin this for later when you have more time.

National Rocky Road Day, which is observed on June 2nd, brought back memories of my childhood. Rocky Road ice cream has been a favorite of mine since I was a little girl as that’s what my grandparents always had… well, that and Cherry Garcia.
Between nostalgia and my love of the crunch from the almonds, I just had to celebrate the day with some Rocky Road Fudge!

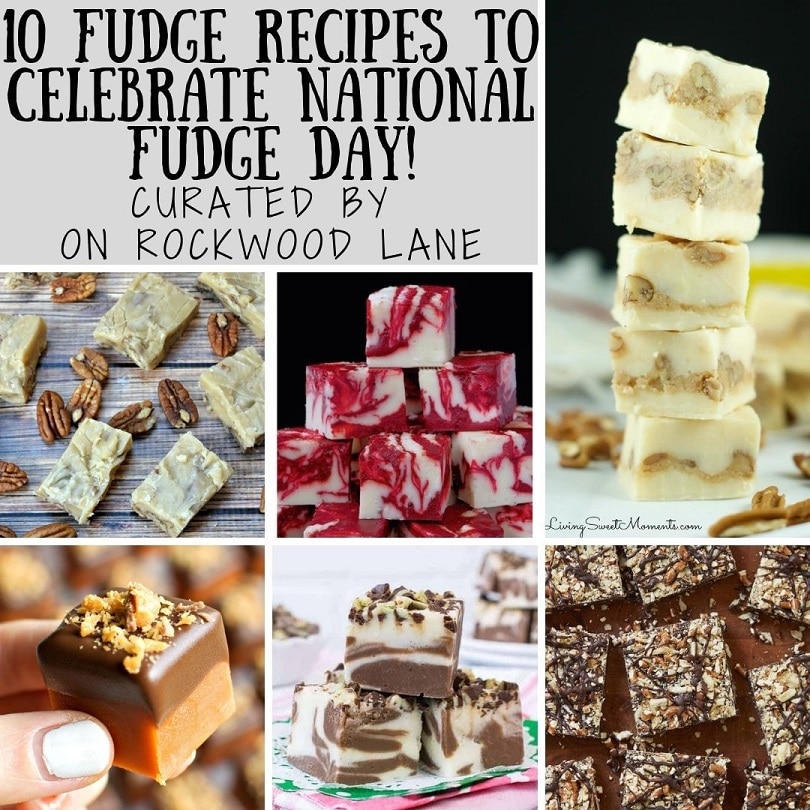
This recipe also comes at a great time as National Fudge Day is June 16th – that’s right around the corner! I have a great collection of 10 fudge recipes that are perfect for celebrating with!
Can I Use a Microwave to Make Fudge?
To me, the stove is a little bit more advanced, and I am not as confident making fudge over it – that’s why I love this quick and easy way of making fudge with the microwave.
Do I Need to Refridgerate Fudge?
A lot of fudge recipes call for sweetened condensed milk. I chose not to use it in this recipe, and instead replaced it with frosting. With this switch, refrigeration is not needed for storing the finished fudge, which makes it great for gift giving since you don’t need to worry about it melting (a previous worry of mine). I do still keep mine in the fridge as I like it cold.
You Might Also Like…

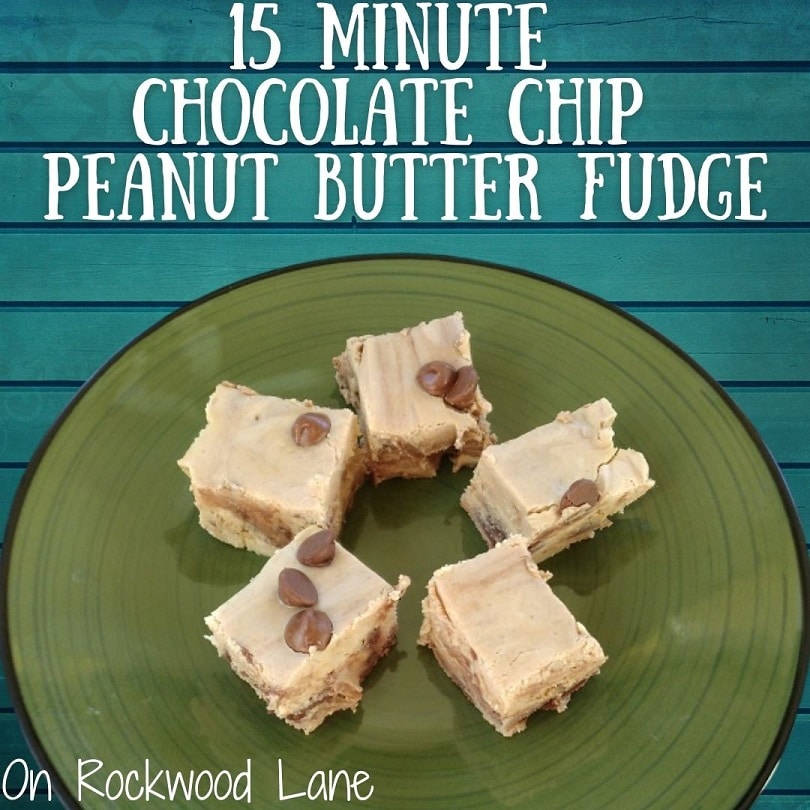
Chocolate Chip Peanut Butter Fudge
Ad-Free Printer Friendly PDF:

If you would like a PDF version of this post, you may get one through either my Etsy Shop for a small fee. This fee is to compensate for the views lost when you no longer need to return to the blog to for the information, as you will have your own copy. In a hurry? Pin this for later when you have more time!
Save this to your Favorites!
Recipe Lion, Cheap Thrifty Living, DIYideaCenter, TheBestDessertRecipes
Makes:
24-25 Pieces
Time Required:
1 Hour, 15 Minutes
- [No] Bake Time: 15 Minutes
- Set Time: 1 Hour
What is Homemade Rocky Road Fudge Made Of?
- 2 Tbsp of Butter – I use Country Crock dairy free plant butter
- 1 12 oz Bag (or 1 1/2 Cups) of White Chocolate Chips
- 1 16 oz Can of Creamy Milk Chocolate Frosting – I used Duncan Hines
- 3/4 Cup of Almond Slices
- 1 Cup of Mini Marshmallows + Some to Garnish – I did 2 per slice so 48 in total
You Will Also Need:
- A Medium Sized Microwave Safe Bowl
- A Spatula
- An 8″ x 8″ Pan or a Brownie Pan with Dividers
- Aluminum Foil to Cover Pan
- Pam
Ingredient Notes:
WHITE CHOCOLATE CHIPS: Seems a bit funny that I would use white chocolate chips to make milk chocolate fudge, huh? I have used milk chocolate chips in the past, and it was a little bit overwhelming for me so I combined it with the white chocolate chips, and it was perfect! Feel free to mix it up.
ALMOND SLICES: I love almonds! But you can switch it out for other nuts, like Chopped Walnuts, or remove the nuts all together.
MARSHMALLOWS: Only have large marshmallows on hand? Cut them in half, and each in half again, and you’ll have great mini marshmallows.
WANT CHOCOLATE CHUNKS? If you would like to add chocolate chunks to your fudge, gently stir in 1/2 cup of regular sized Milk Chocolate Chips or Mini Chocolate Chips prior to pouring into the pan. Don’t over stir or the regular chocolate chips will begin to melt.
PAN: I often will use an 8″ x 8″ pan covered in foil, and then cut into 25 squares after the fudge is set. I tried it in my 12 hole brownie pan with dividers, and cut each in half after it was set giving me 24 rectangles. It was really easy to use.
FOIL: Why cover the pan? It makes it sooooo easy afterwards to just lift and pull the fudge out of the pan. You can cut over the foil, and even wrap it up to temporarily store in the fridge. Plus, minimal clean up.

Rocky Road Fudge Recipe | How to Make Homemade No Bake Rocky Road Fudge:
Step 1: Line the 8″ pan with aluminum foil (I didn’t line with foil for the pan with divider), spray with Pam and set aside.

Step 2: In a microwave safe mixing bowl, add in the butter, and white chocolate chips. Microwave for 45 seconds. Stir until creamy.

Step 3: Remove the foil top to the frosting container, and microwave for 45 seconds to soften it up. Remove from microwave.
Step 4: Return white chocolate chips to microwave for 30 seconds. While they are in there, stir the frosting in it’s container.
Step 5: Pour the frosting into the white chocolate chip bowl, and stir.

Step 6: Add in mini marshmallows and almond slices, and stir until evenly combined.

Step 7: Pour the mixture into the pan, and garnish with mini marshmallows – I did 2 per slice so 48 in total. Set aside to set – you can leave it out on the counter to completely cool and set, but I pop mine into the fridge for about an hour.
Step 8: Cut, and enjoy! From an 8″ x 8″ pan, I cut mine 5 squares by 5 squares for 25 squares total, but from my pan with the dividers, I cut each in half so 24 rectangles total. I actually cut several in half so I could have smaller pieces for myself.

Please DO NOT claim this recipe as your own nor should you sell my recipe. DO NOT re-publish my photos as your own. DO NOT copy and paste my recipe anywhere, link to it instead.
Join one of our awesome Facebook groups to share your creations, and see what others are up to!
– Yarn Crafts & Coffee Community
– DIY Home On Rockwood Lane
– Alexandra Lane Lifestyle
Linked Up To…
All About Home #201 – Common Ground
Tuesday Turn About #207 – My Wee Abode
Home Matters Linky Party #435 – Modern on Monticello
Farmhouse Friday 305 – County Road 407
Craftastic Monday Link Party – Sew Can Do
Wednesday Link Party 508 – Oombawka Design Crochet
Team Creative Crafts Link Party #151 – Artsy-Fartsy Mama
Creatively Crafty Link Party #385 – Try It – Like It – Create It
Grace at Home No. 510 – Imparting Grace
Spread The Kindness Link Up On the Edge #657 – Shelbee on the Edge
Saturday Sparks Link Party 570 – Pieced Pastimes
Handmade Monday #332 – Sum of their Stories
The Really Crafty Link Party #370 – Keeping it Real
Happiness is Homemade – Decor Craft Design
You’re the Star Blog Hop – Decor Craft Design
Anything Goes Linky 381 – My Random Musings
686th Inspire Me Tuesday – A Stroll Thru Life
Fabulous Party 480 – Lou Lou Girls
The Happy Now Blog Link- Up #378 – JENerally Informed
Vintage Charm Party 394 – My Thrift Store Addiction
Wonderful Wednesday Blog Hop – My Life Abundant
Wednesday Link Party #353 – To Grandma’s House We Go
Thursday Favorite Things #614 – An Artful Mom
Encouraging Hearts and Home Blog Hop – Slices of Life
Crafty Creators Link Party #71 – Life as a LEO Wife
Create, Bake, Grow & Gather Party #577 – Shabby Art Boutique
Funtastic Friday Link Party #442 – Simply Beautiful by Angela
A Morning Cup of Joe – The Cottage Market
Pink Saturday – How Sweet the Sound
Craft Schooling Sunday – Creative Jewish Mom
Sundays on Silverado #151 – The House on Silverado


I’m a sucker for fudge! This looks so good. And I love that it is pretty easy!
Me too! Hehe. Will definitely need to make some more! Thinking about stealing some of the marshmallows I bought to make rice krispies with…
YUM! This looks delicious! Thanks for sharing at Vintage Charm–pinned!
My sister makes this type of fudge. I must share your yummy links. Good luck selling this week on the etsy sites, but most of all enjoy!
Thanks so much, Nancy!!
This looks incredible! I love fudge.
Sooo good! No bake recipes are the best!
Alexandra, these look so yummy! I’ve never seen fudge made this way – definitely something the kids and I will try over the summer. Thank you for linking up at our weekly Link Party! You are being featured at our Wednesday
Party #509 this week. Here’s the direct link to the post in case you’d like to share your feature:
https://oombawkadesigncrochet.com/crochet-round-coasters-shell-in-the-round-square-rocky-road-fudge-link-party-509/
Hope to see you again next week! Rhondda
Making fudge this way is my favorite – quick and easy peasy! I appreciate the feature, Rhondda!