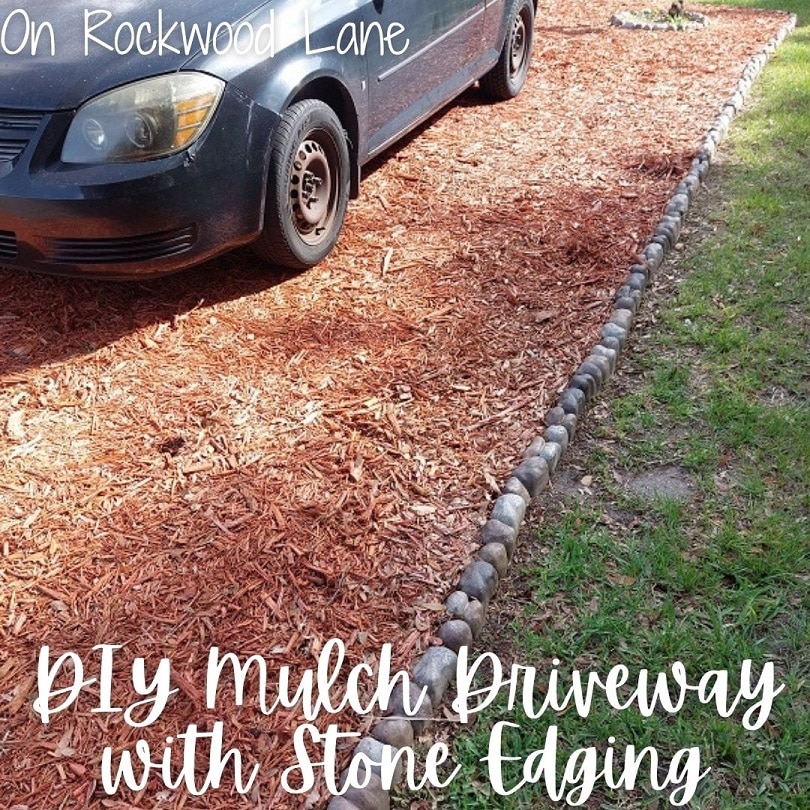
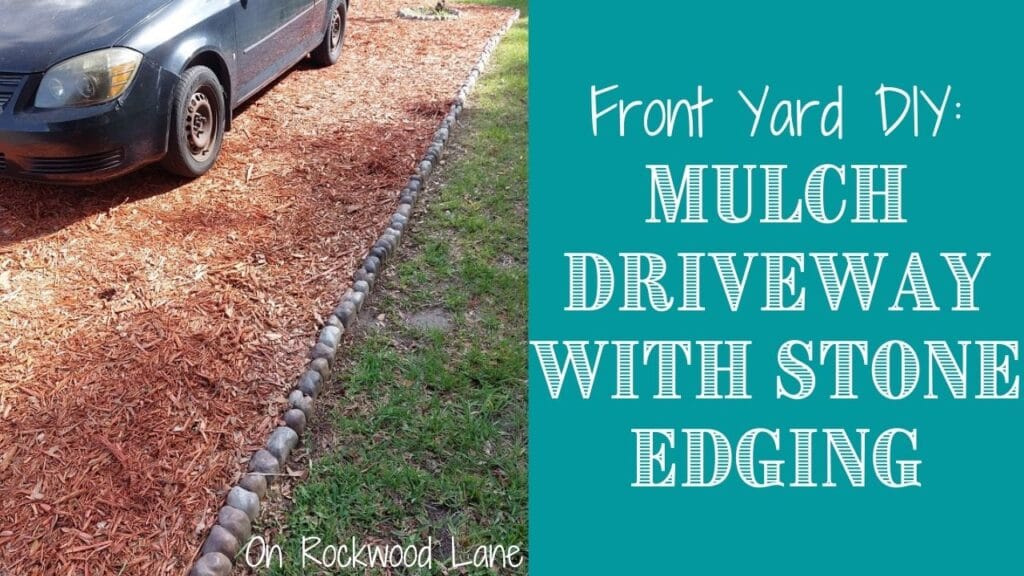
How to DIY a mulch driveway and walkway with stone edging. When code enforcement told me I had to make a driveway for my almost 100 year old home, I set out to create one and a walk way to my front door with red mulch, and a pretty gray stone edging.
My house is nearly 100 years old. I was going to say it was not built with a driveway, and I do say this in my video, but it actually does have a small carport made of red bricks to the left of the house, but we do not use it for this as it’s rather small – we house our grill on it instead. Anywho, the grass in front of our house became the driveway, as with the other homes around ours.
A couple week’s before Thanksgiving last year (2021), code enforcement knocked on my door, and let me know that parking on the grass was a parking violation, and I would need to add a driveway to park on. Honestly, I was in shock. We’ve lived in this house for 8 years, but it’s been in my husband’s family for decades, and this was news to us, and to my neighbors who got the same memo.
I focused on the holidays, and then at the beginning of the year, I got a written warning for parking on the grass, and so I officially set out to work on this driveway project January 11th.
DIY Mulch Driveway with Stone Edging YouTube Video (if you prefer):
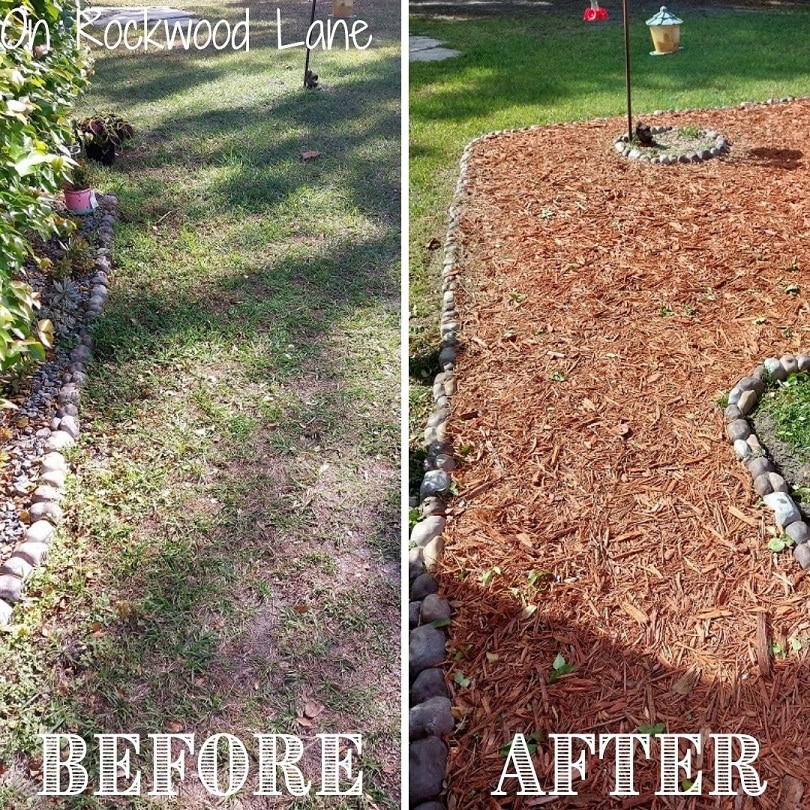
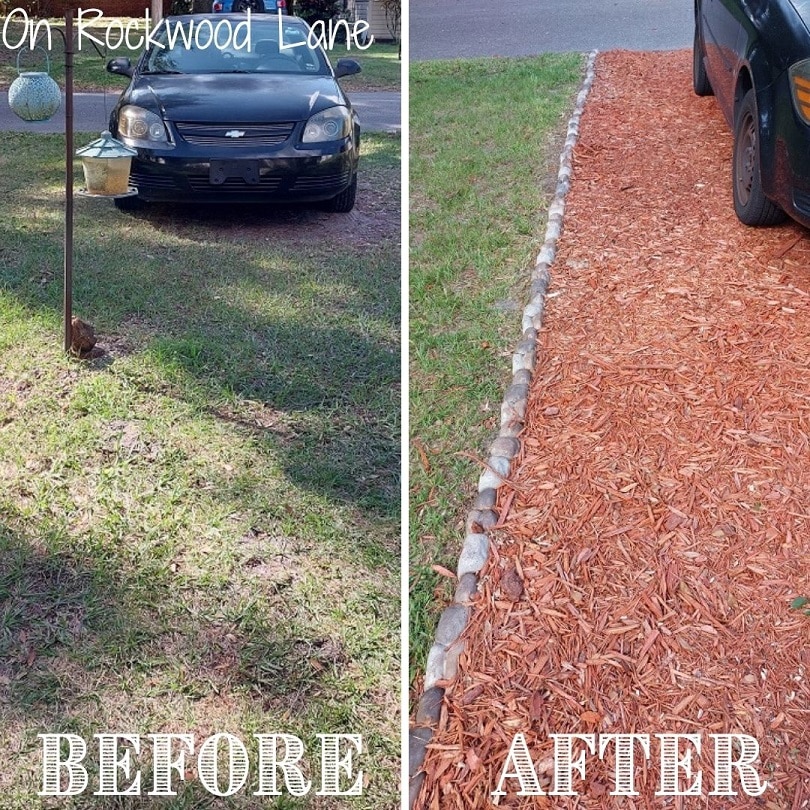
Before Photos:
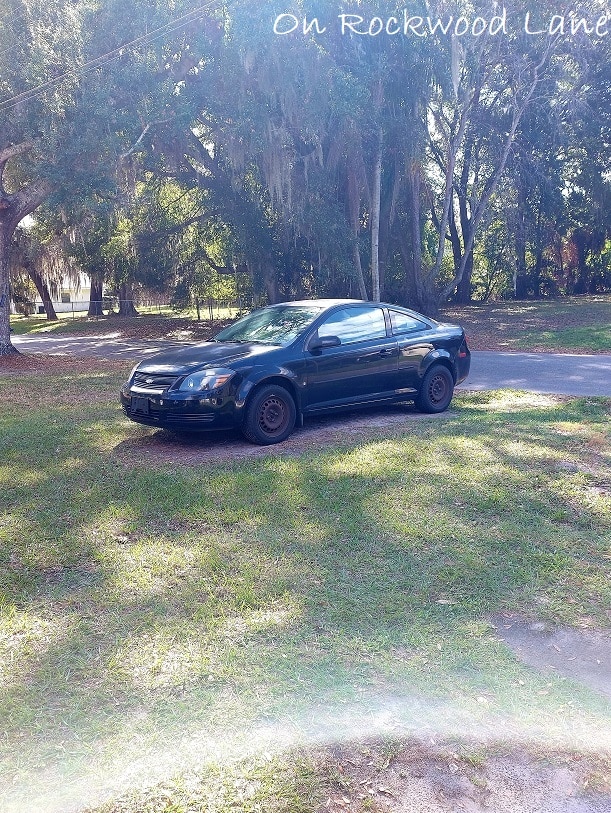
Originally…
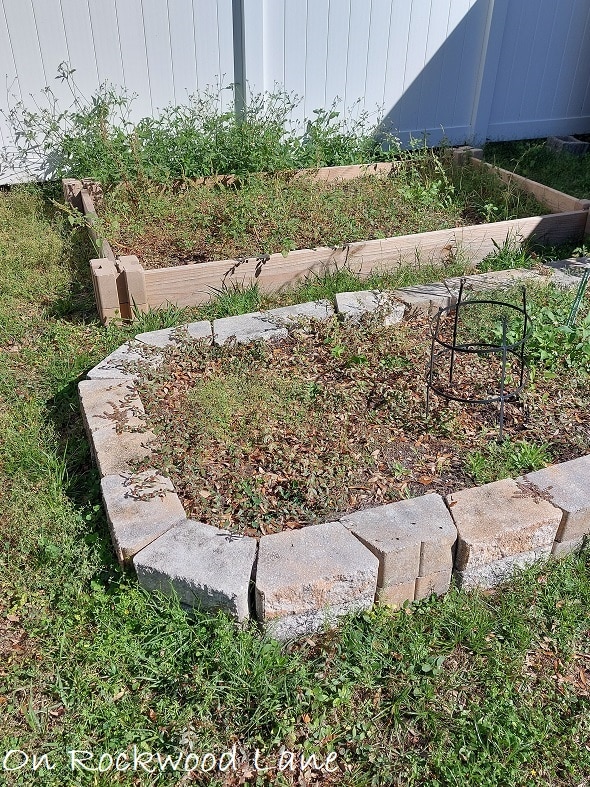
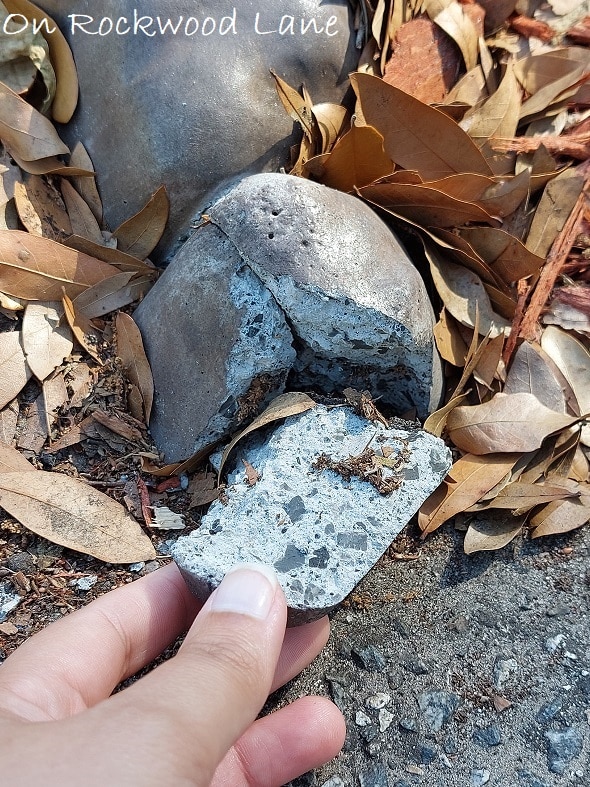
These two beds used to be vegetable gardens a couple years ago. After everything died, I lost interest in it, and they’ve just set. My original plan was to use blocks from the garden closest as the stone edging for the driveway. I would need to buy more, but it would save me some time and money.
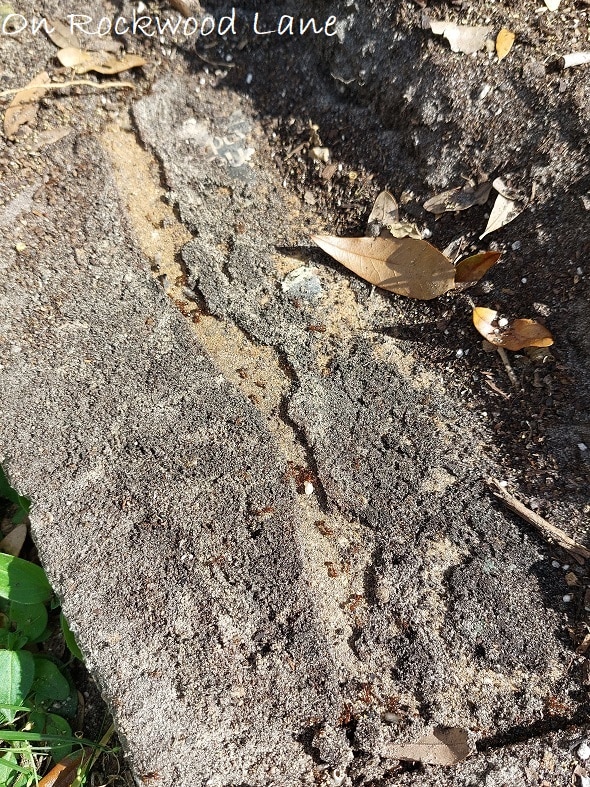
When I picked up the top layer of blocks, I found this ant trail inside. How cool?!
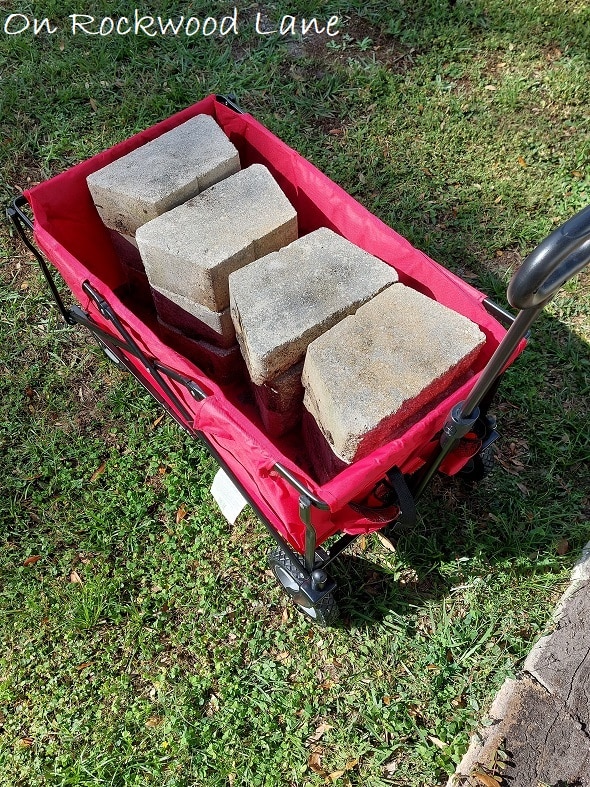
I grabbed my little red wagon, which by the way, is one of the very best purchases I’ve made! These blocks are 20 pounds each, and there are 12 in this wagon, and though it was tough to pull from my backyard to my front yard, this wagon was a champ! I made several trips with blocks too. Found this wagon at Academy Sports for around $50, and this is just one of the many times I’ve used it to lug things around for me.
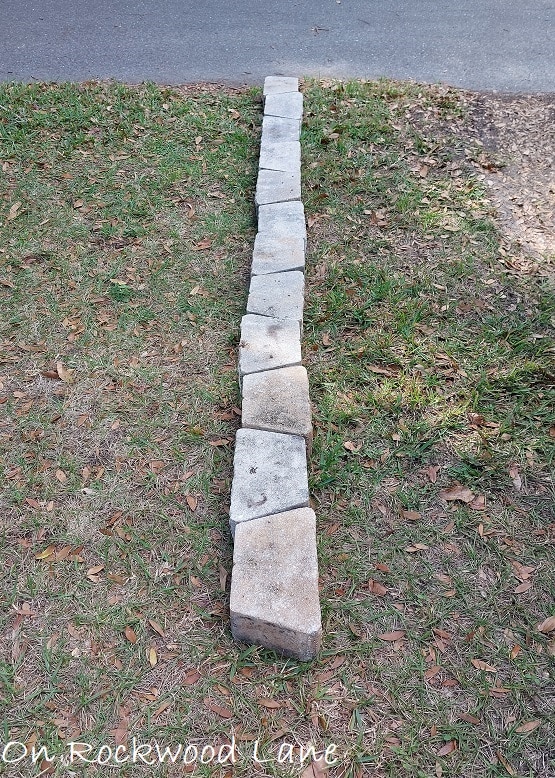
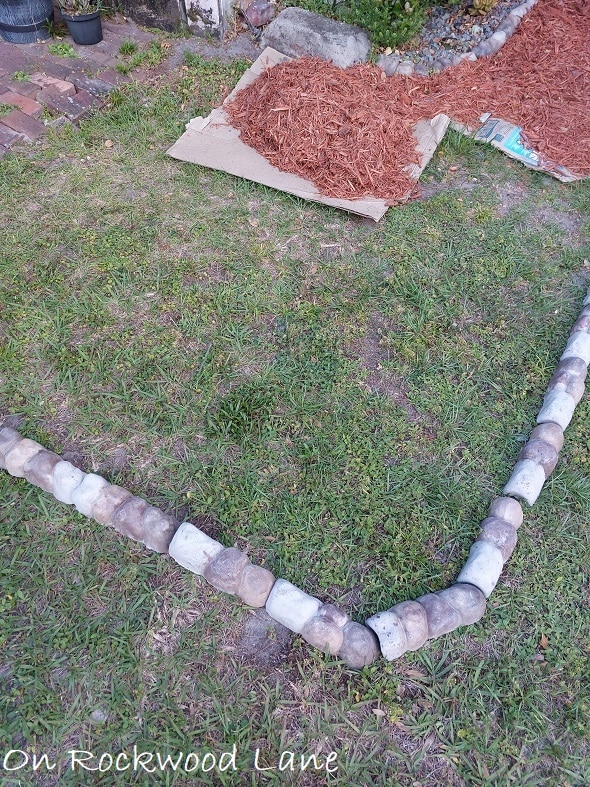
I knew I would need more blocks, but I laid out what I had so I could see how it looked. I was not in love! Too bulky, and too tall. I was so exhausted after moving all the blocks to the front yard, and lining them up, I ended up leaving them in place…
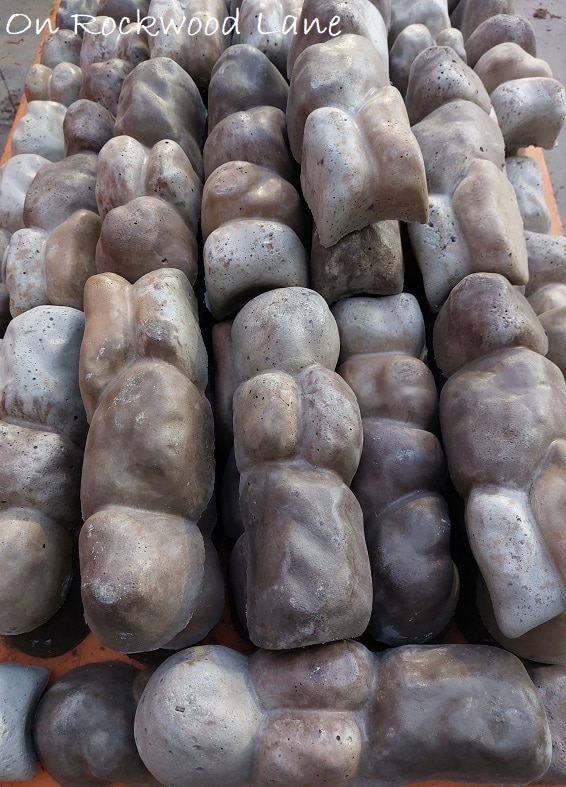
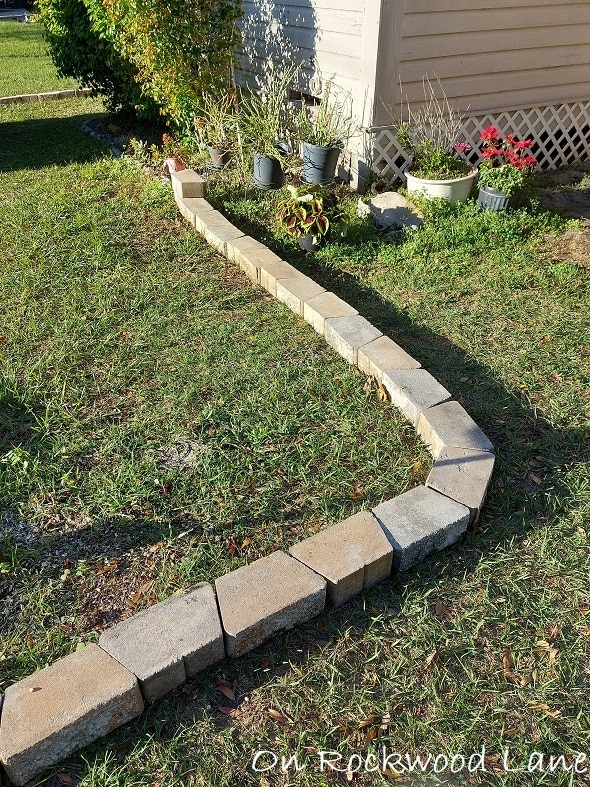
… until January 16th, when I went to Home Depot to pick up these 12″ stone edgers. I had used these on my Rock and Succulent Garden that would line the walkway I was creating, and I really wanted these to begin with, but was trying to save money – they are a little over $3 each. Should have just gone with my gut to start though.
While I love the color of these stones, I also like that they are easily to work with, especially to create curves/turns with. One one side, it’s rounded, and the other end is shaped to fit right over the round edge.
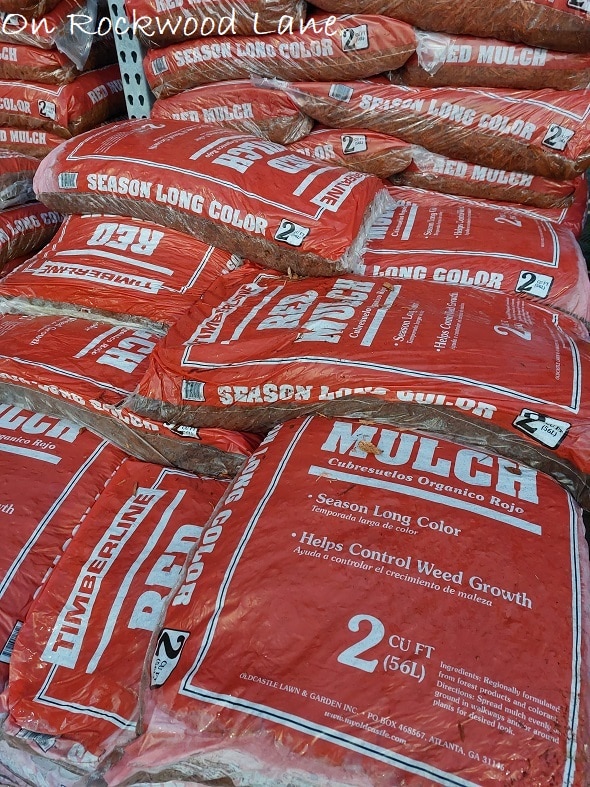
I also picked up some red mulch. While I started out with this Timberline brand, I ended up switching to Vigoro brand because I couldn’t find the Timberline at every Home Depot, and I varied where I went depending on the side of town I was on when running errands. There was a slight color difference between them, but knowing it was mix, and fade, I didn’t care.
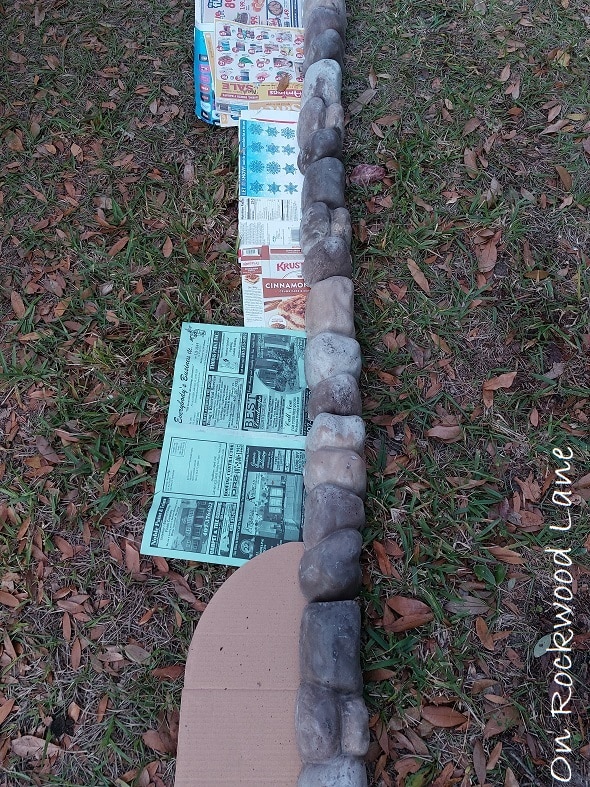
My husband was nice enough to move off all the blocks for me, and I started laying out the stone edging. From here on, you will see a lot of cardboard and newspaper. Why?
1. The main reason was because I didn’t not want to remove the grass, but instead smother it – cardboard is great for that;
2. It is great to limit the weeds that come through.
My mom taught me to place 3-6 sheets of newspaper down before adding mulch, rocks or other fillers so that it would smother the weeds, and prevent them from breaking through for a while – until the newspaper decomposes of course. It does not completely stop weeds though because anything that falls from trees or birds above can sprout new weeds – just makes things a lot easier.
Where Can I Get Cardboard and Newspaper to Use in the Yard?
I went to some local businesses for boxes from shipments they received, and the other boxes and newspapers came from things I ordered online, and junk mail that would normally just had gone into my recycling bin. Recycling at it’s finest!
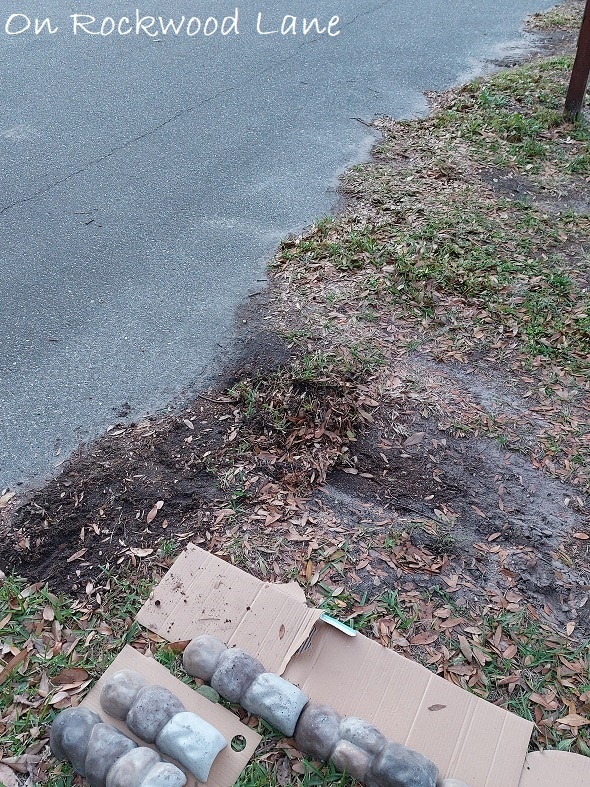
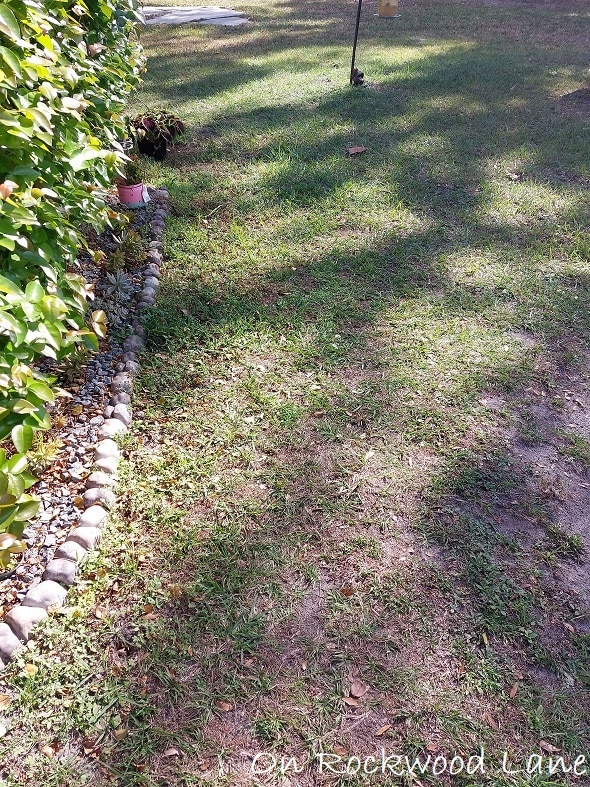
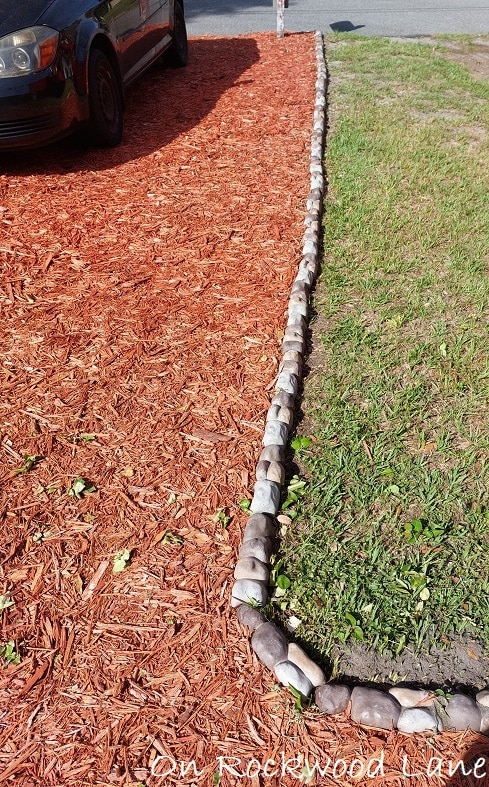
This is the space where the road meets my yard where I want my driveway to start. I was rushing the first day, and cut a corner here that I am glad worked out.
I initially thought about digging out some of the yard to slope the driveway so the mulch would have somewhere to lay evenly with the road. I did not take the time to do this. I did dig out about 8″ or so from the road inward to create a sort of moat for the mulch to pack into. This was important to the mulch wouldn’t just get pulled out into the road each time I backed out of the driveway. I didn’t know how it would ultimately work, but it worked out perfectly with minimal mulch being pulled out, and it’s been used for several months now.
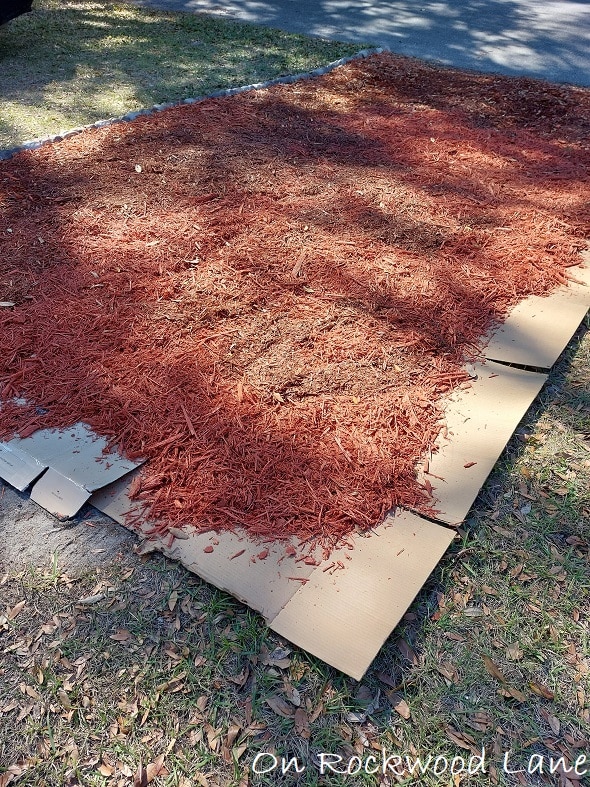
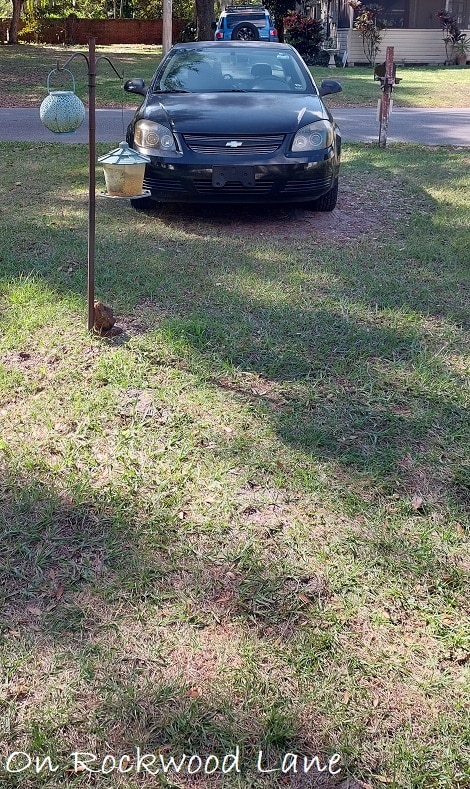
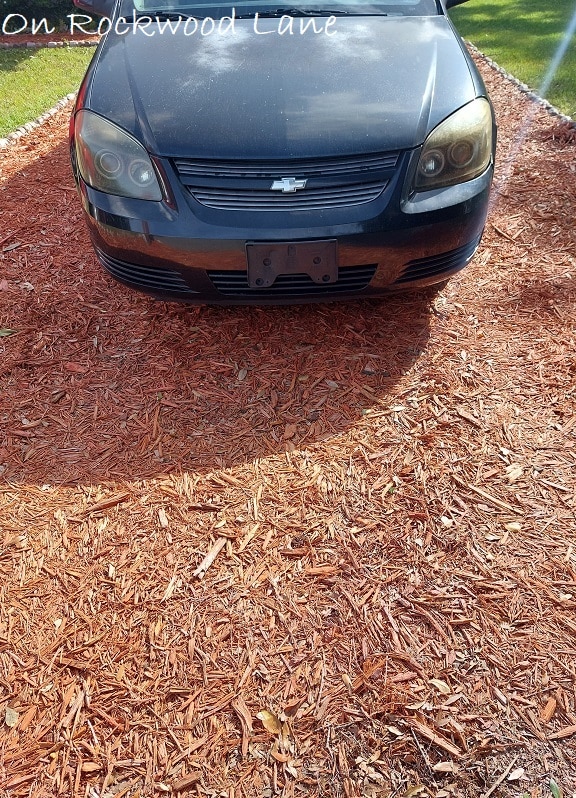
I worked very hard to get enough of the driveway done so my car would be completely on mulch, and not on the grass so I wouldn’t get a ticket from code enforcement, but after that, the remainder of the driveway built up very slowly. It was a costly project that I made purchases for after pay day, and other bills were taken care of. What you see here is when I had enough for my car to sit on, and this was taken February 11th.

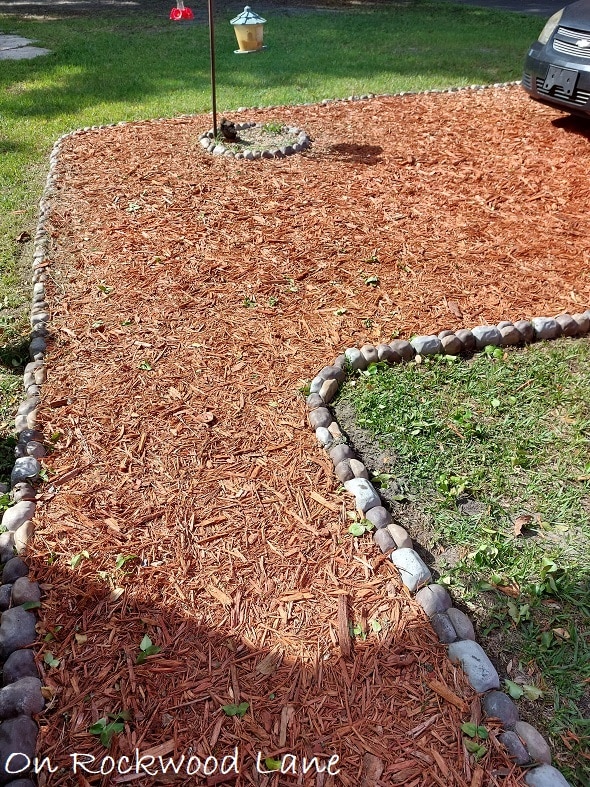
One of the reasons my driveway comes out so far on the left (when looking from the house) is because I wanted to include the area where my bird and squirrel feeders were.
I made a circle with some stones to encompass where I thought the seed would fall mostly. Here it shows 7, but I ended up expanding it to 9, and honestly, it could have been a little bigger.
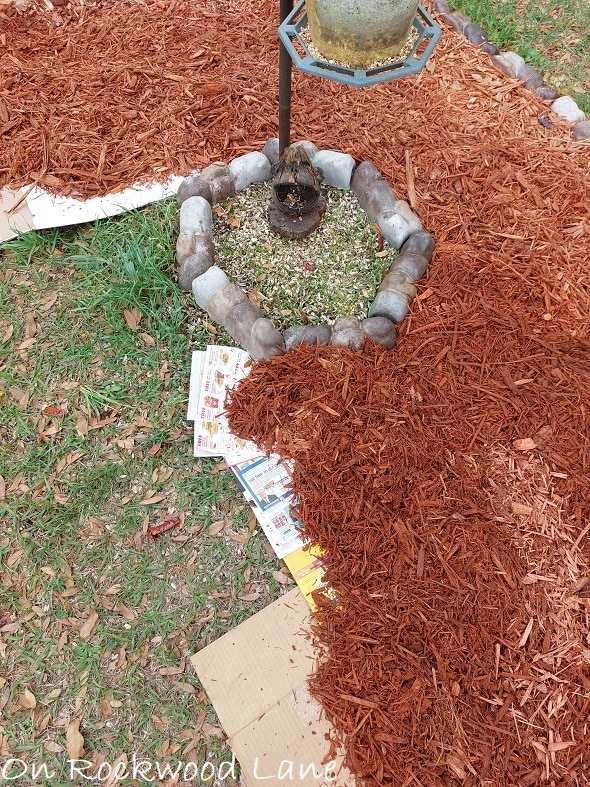
I left the center of the circle without newspaper or mulch so just the seeds would fall there in the dirt, and began filling in around with paper and mulch.
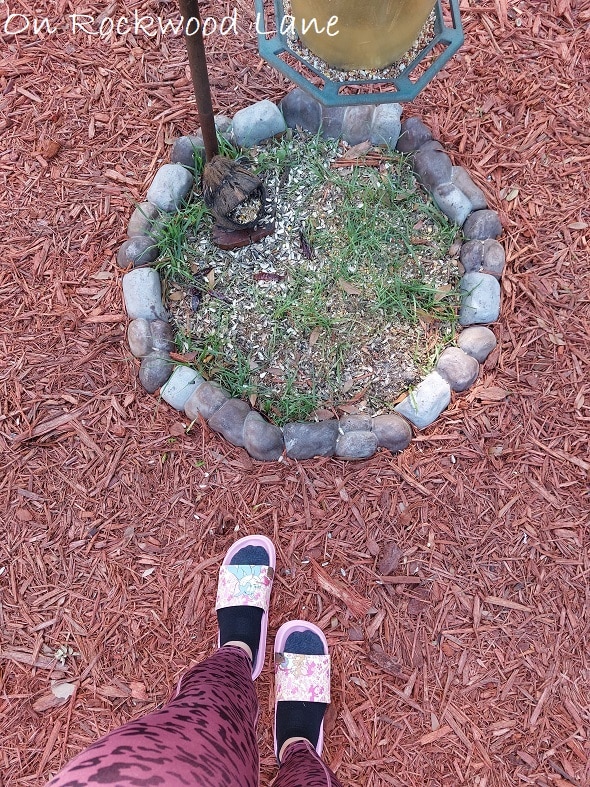
Here is where you can see after I expanded it. Any Tom and Jerry fans? I found these super cute sandals at Ross for around $10!! Had to get them. They are really comfortable, and perfect for when I’m home, and don’t want to take off my socks for flip flops or go as far as putting on sneakers. This is March 28th.
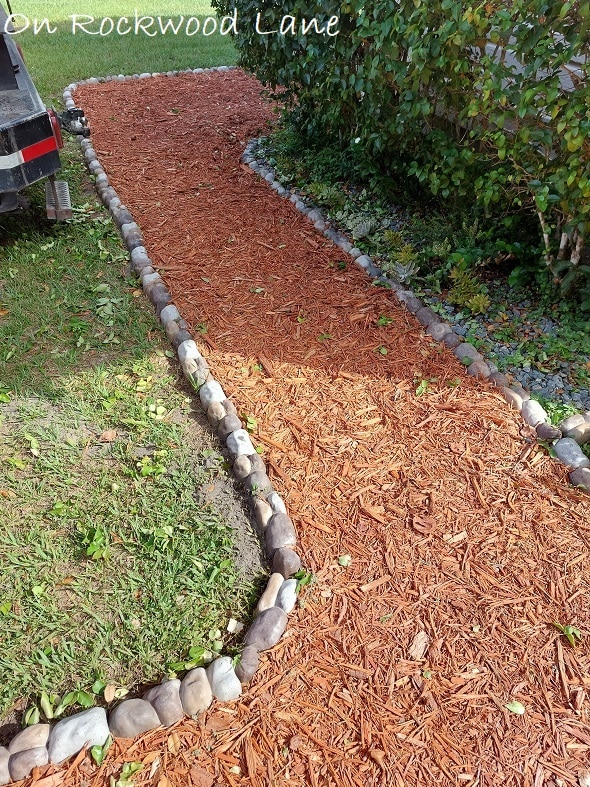
I did not get walkway photos, but from the road, on the right side, I went all the way up and around the bird feeder, while on the left side, I went up to about 36″ from my bushes and Rock and Succulent Garden, and then I turned inward to work along creating the walkway.
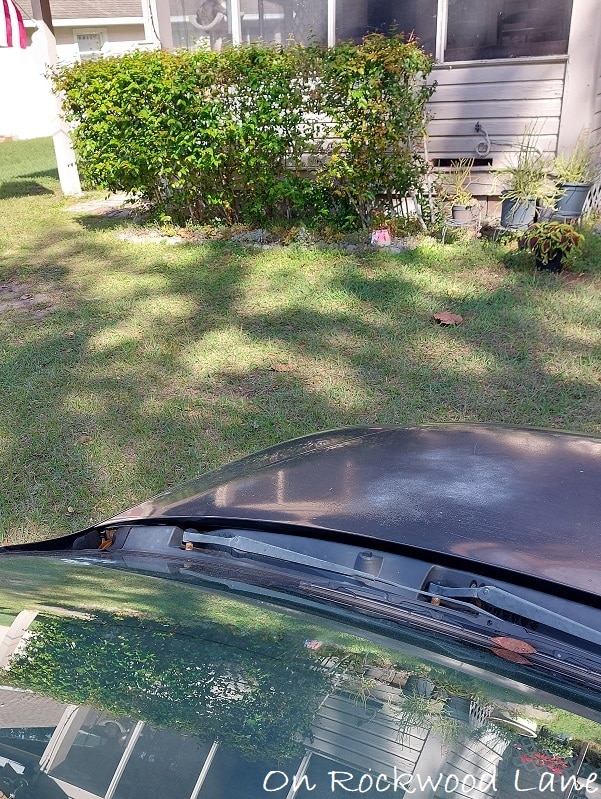
On April 30th, I had reached what is a brick carport that we don’t use as a carport that leads to my front door leaving just this small corner to finish. It’s actually rather large, but I wanted to make it as large as the brick area, which you can spot at the top left.
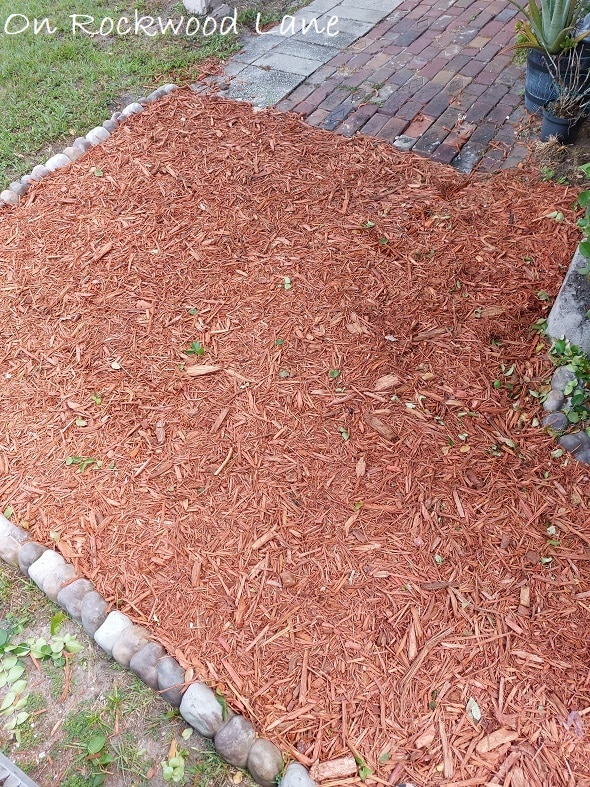
It took me a while to get this space filled in. I was losing steam on this project. I am not even sure when I actually finished it because I didn’t get the finale photos until May 23rd, though I had finished a bit sooner.
Do you see that aloe plant in the container on the top right? That is Faye’s Succulent Garden, and boy have those succulents taken off! I love coming home, and being welcome by this garden each day, and all the lizards that roam it.
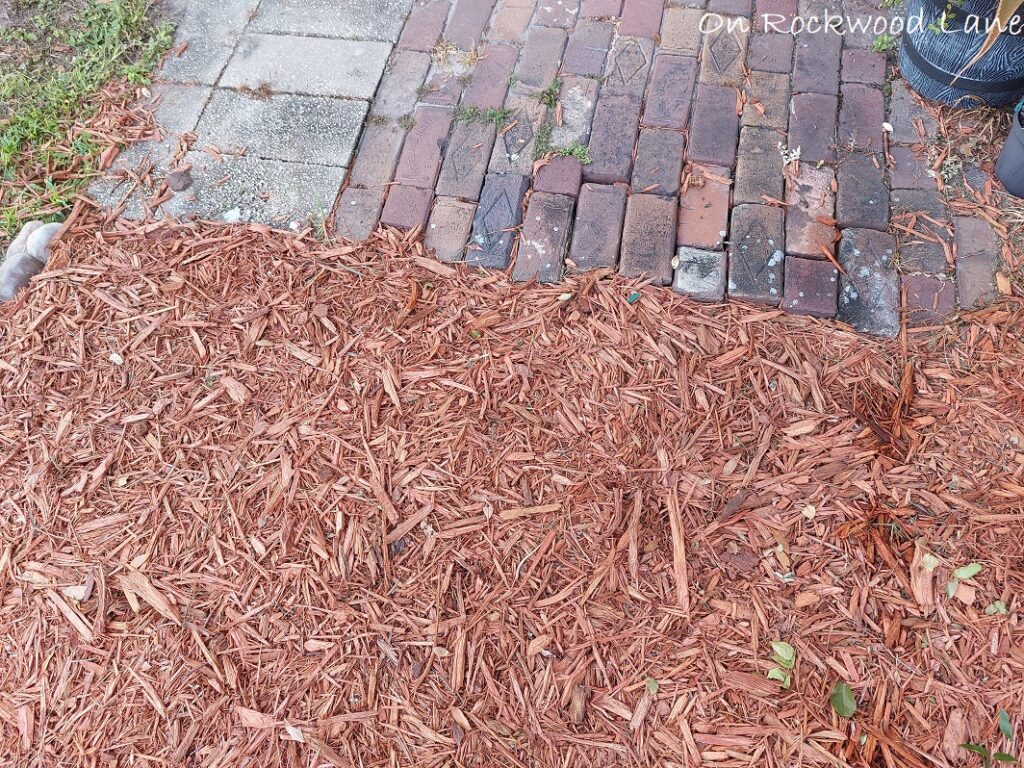
Here where the yard met the brick area, I worked similarly to how I did where the road met my yard. I dug out some of the yard so the mulch would have a spot to fall, and really pack in. I also leveled some of the dirt under the red bricks along the edge so they would lay flat again.
The mulch does come onto the brick area more than on the other end, but I just sweep it out when it does, and level the mulch area leading to the walkway.
Finished Mulch Driveway and Walkway with Stone Edging
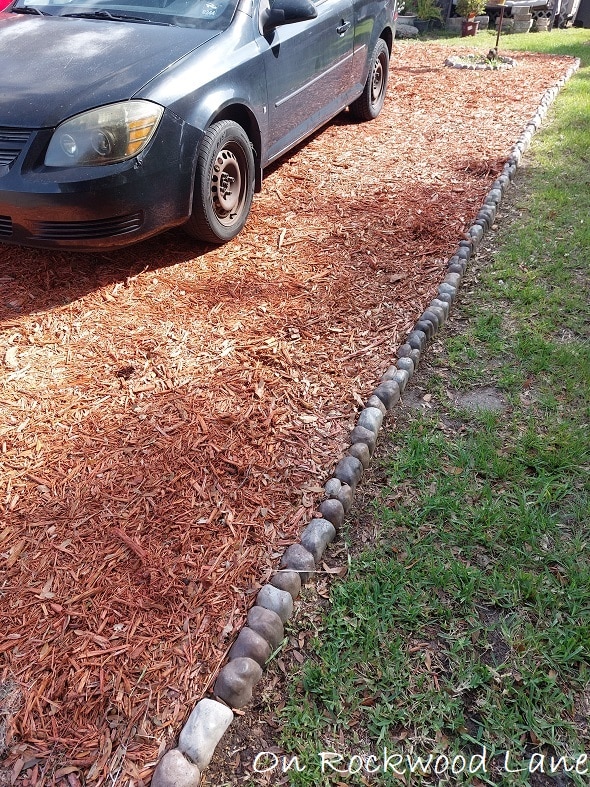
From the road looking up. Plenty of space on either side to get out of the car, and walk up the driveway.
One tiny bump – this stone has been run over a couple times. Not by me, but the cars that park next to me. I thought about replacing it, but figured it’s probably break again so I just keep fixing it.
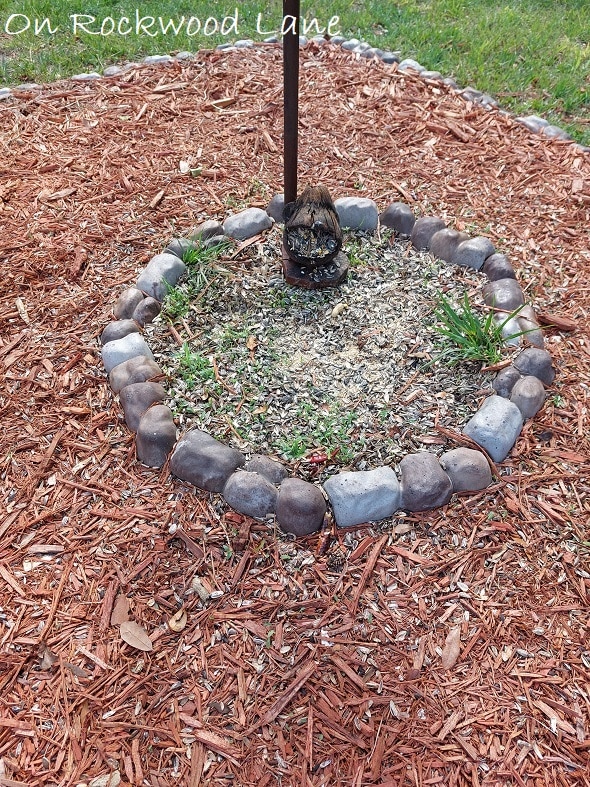
My bird and squirrel feeding station.
Continuing onto the walkway now.

And from the walkway to my front door.
Heading back down the walkway…
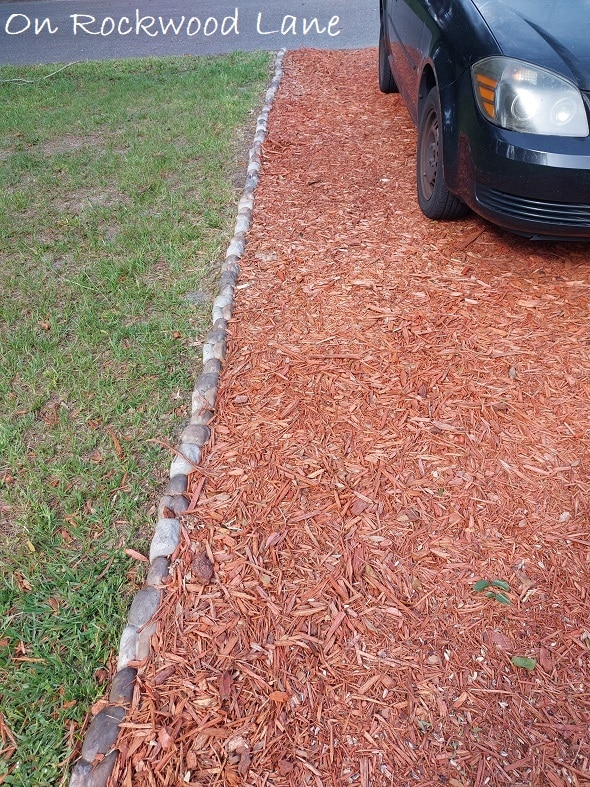
…to the car now. PS, don’t mind the crocked line of stones. I did not even notice this until it was all finished, and I was standing on my porch looking down. Oopsie!
Let’s See What My Friends Have Been Up To…

This Month’s DIY Blop Hop: Back Yard, Deck, Porch (and Front Yard with permission)! (Click here for our upcoming themes and more info on how to join us every month!)
Outdoor builds – Revisiting our most popular and personal favorites! – Grandma’s House DIY

DIY Tire Planter from Life as a LEO Wife
Join one of my awesome Facebook groups to share your creations, and see what others are up to!
– EyeLoveKnots Crochet & DIY Community
– DIY Home On Rockwood Lane
– Alexandra Lane Lifestyle
Linked Up To…
Share the Wealth Link Party #20 – Big Fat Menopausal Life
Last Week, This Week – Fine… Whatever
Spread The Kindness Link Up #279 – Shelbee on the Edge
Wow on Wednesday Blog Hop – Is This Mutton
Farmhouse Friday #258 – County Road 407
Link Up On the Edge #300 – Shelbee on the Edge
Beautifully Made Link Party for Home Decor 218 – Across the Blvd
Craft Schooling Sunday – Creative Jewish Mom
Happiness is Homemade – Decor Craft Design
Sundays on Silverado #97 – The House on Silverado
Handmade Monday #282 – Sum of their Stories
Link Up Potpourri #48 – My Bijou Life
You’re the Star – Decor Design Craft
Craftastic Monday – Sew Can Do
The Really Crafty Link Party #319 – Keeping it Real
641st Inspire Me Tuesday – A Stroll Thru Life
Fabulous Party 428 – Lou Lou Girls
Talent-Sharing Tuesdays Link-Up 22 – Scribbling Boomer
The Happy Now Blog Link- Up #325 – JENerally Informed
All About Home Link Party #148 – Common Ground
Tuesday Turn About #155 – My Wee Abode
Linky Party – Karins Kottage
Grace at Home No 471 – Imparting Grace
Encouraging Hearts and Home Blog Hop – My Slices of Life
Creatively Crafty Link Party #332 – Try It – Like It – Create It
Thursday Favorite Things #544 – An Artful Mom
Wonderful Wednesday Blog Hop – My Life Abundant
Wonderful Wednesday – Oh My Heartsie Girl
Team Creative Crafts Link Party #98 – Artsy-Fartsy Mama
The Wednesday Link Party 455 – Oombawka Design Crochet
Traffic Jam Weekend Link Party #328 – My Bijou Life
Create, Bake, Grow and Gather Party #524 – Shabby Art Boutique
Funtastic Friday Link Party #389 – Simply Beautiful by Angela
Saturday Sparks Link Party 519 – Pieced Pastimes
A Morning Cup of Joe – The Cottage Market
Anything Goes – How Sweet the Sound
Fabulous Friday Link Party – Peacock Ridge Farm
Home Matters Linky Party #384 – Modern on Monticello
Well done! It looks very good!
Thank you, Nancy!
Wow! You put a lot of hard work into this and it turned out really well! Great job!
Phew, so much! Thank you!!
That is a fabulous DIY fix! (though admittedly it would not work so well in the north as it would all get plowed up with the first snowstorm of the season).
Thank you! Yes, we are fortunate not to have to deal with snow happenings here, and mild winds, so I’m glad this was an option, and so happy with how it turned out.
Looks great, very smart and does the job perfectly.
Thanks, Julie!
Whew…I am tired just reading about all that you had to do. It looks so good and I hope it satisfied the citation department! Thanks for sharing the hard work and inspiration. #HomeMattersParty
Whoops! Didn’t mean to tire you out. Hehe. So far, so good. They haven’t come knocking on my door since. Thanks! I am really happy with how it turned out.
So much hard work but wow totally worth it, Alexandra, this looks amazing! I need to add rock to some of our flower beds. I love the way yours looks mixed with the mulch. It’s fabulous! Hope you have the best weekend, CoCo
Thanks so much, CoCo! It was a tough, but fun project.