How to start a new YouTube channel quickly and easily.
I am still new to the YouTube game as I only within the last year started my EyeLoveKnots channel, but ever since starting it, I have wanted to get my On Rockwood Lane channel up so I can make videos that go hand and hand with my posts so I can work on building up both platforms together.
It is a bit bigger of a learning curve to make videos that fit all my projects and posts for this blog as I have to find the right space for the lighting, and to keep my mess out of the videos, but I am looking forward to the challenge, and I wanted to show you how to quickly and easily start a new YouTube channel!
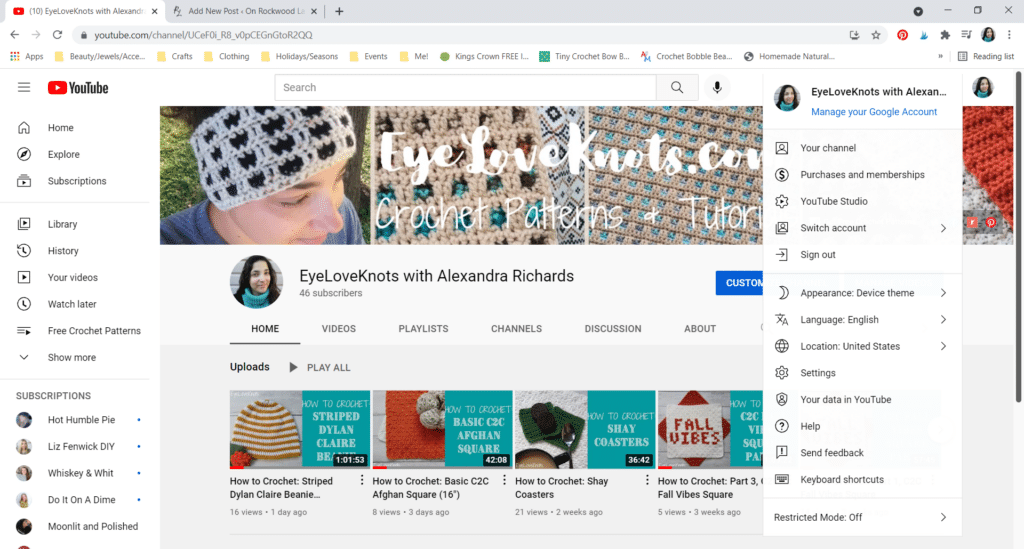
Click your icon in the top right corner, then go down to “Switch account”.
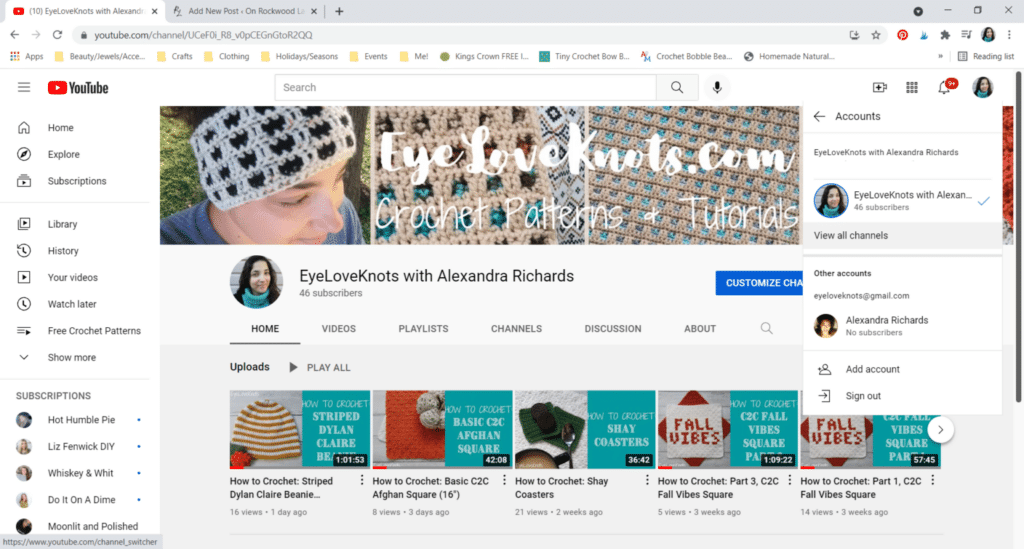
Go down and click on “View all channels”.
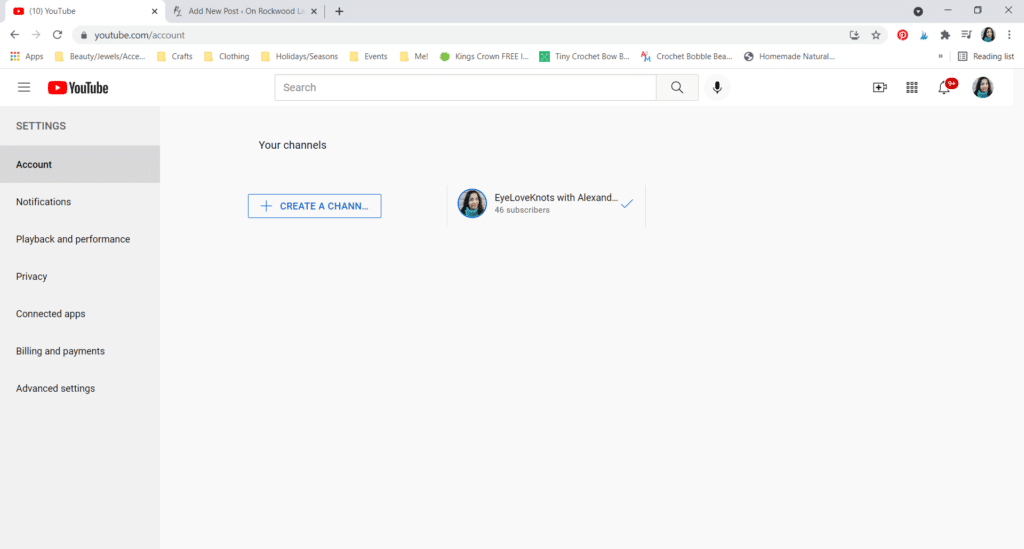
Now you can click the “Create a Channel” button, name your new channel, check the box, and click “Create”.
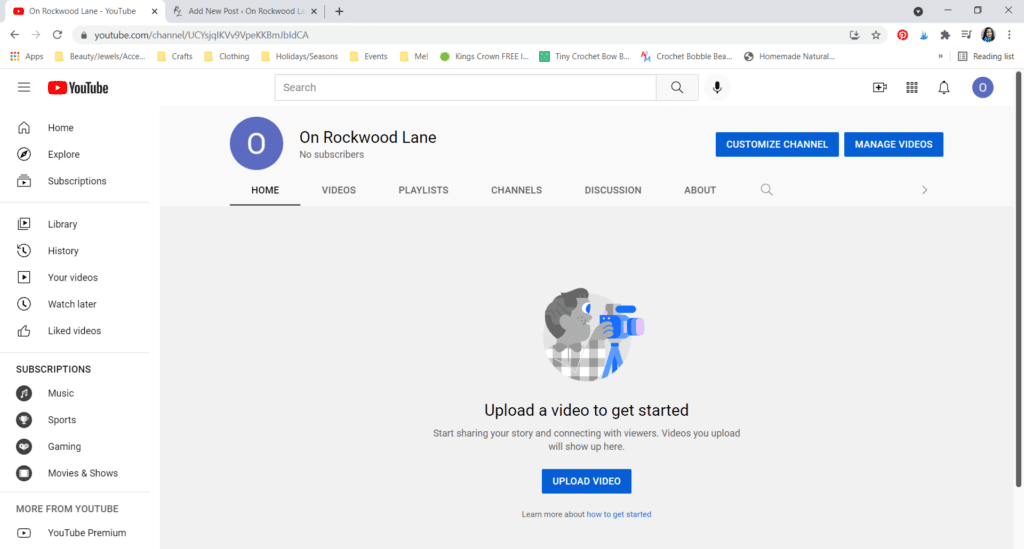
Yay! The new channel is officially up! But let’s go a step further and customize it. Start by clicking the blue “Customize Channel” button.
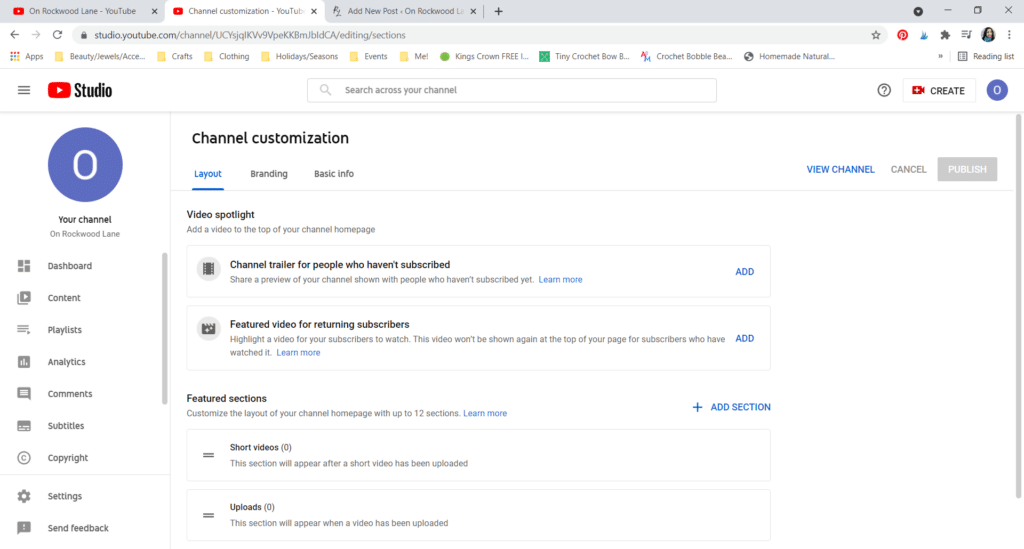
This opens up into a new tab.
Basic Info
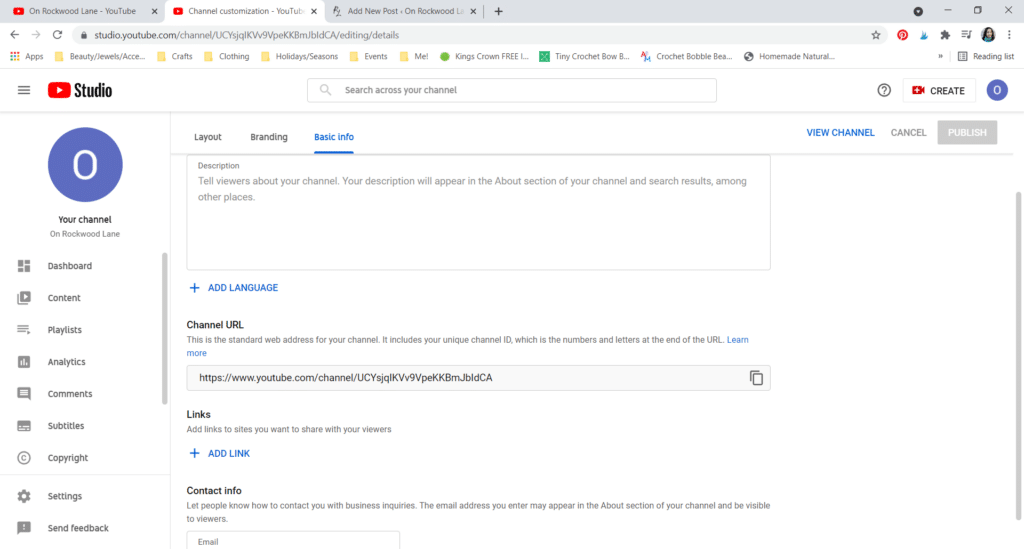
Click on the “Basic Info” tab, and…
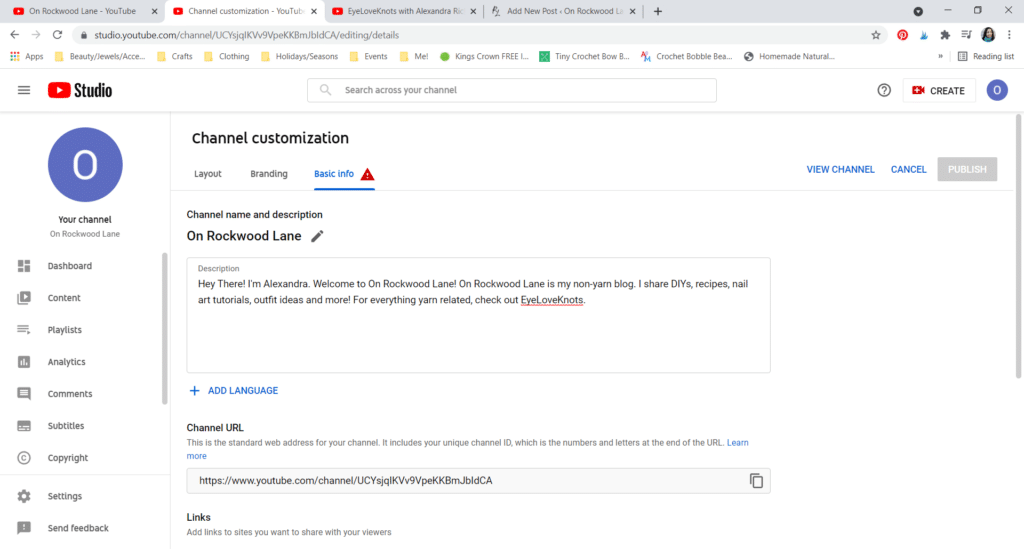
… fill in your Description to tell viewers about what they can expect to see from you…
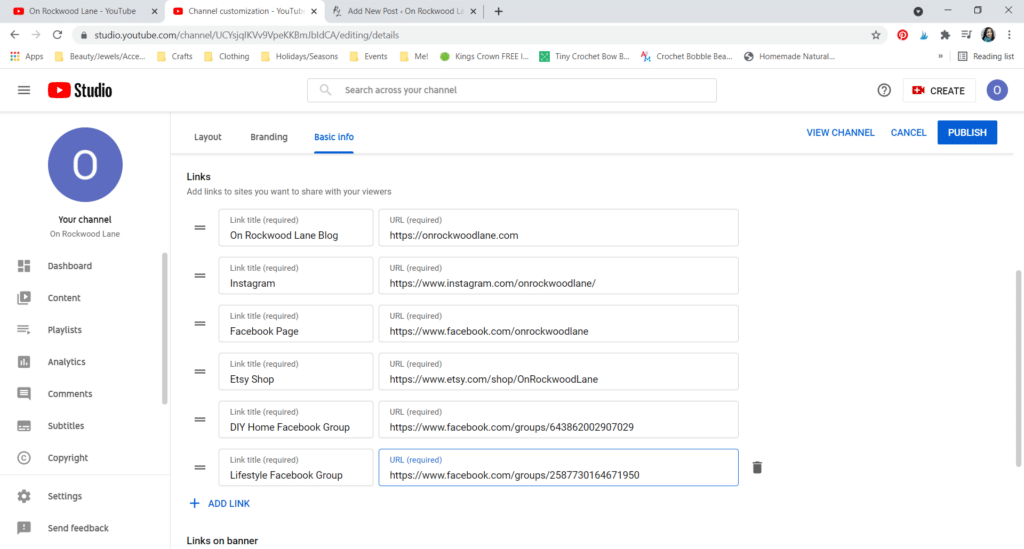
… add your Links (ie blog/website, Facebook, Instagram, etc), and choose how many links show on your channel banner – I picked first four.
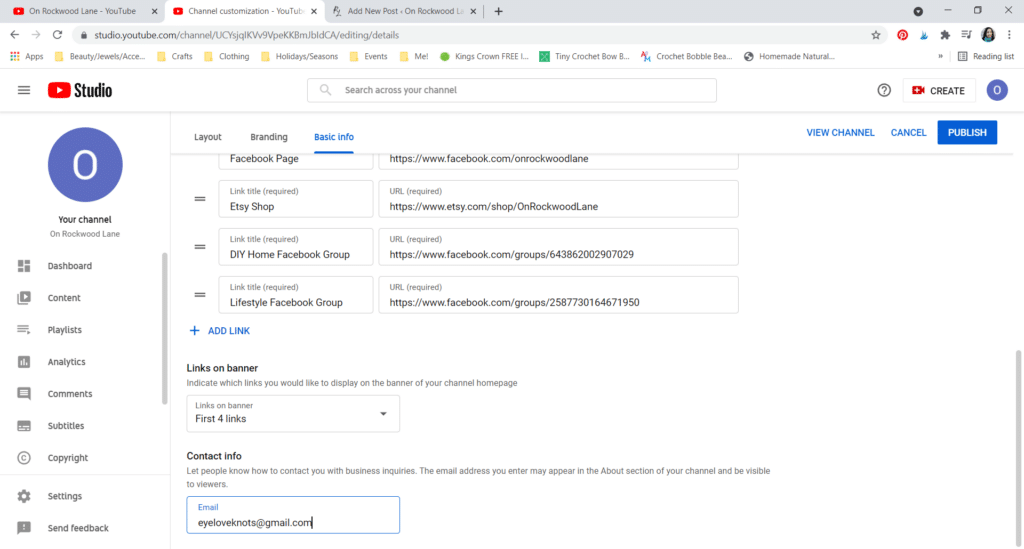
Don’t forget to add an email address in the Contact Info in case viewers need to contact you, then hit the blue Publish button at the top right.
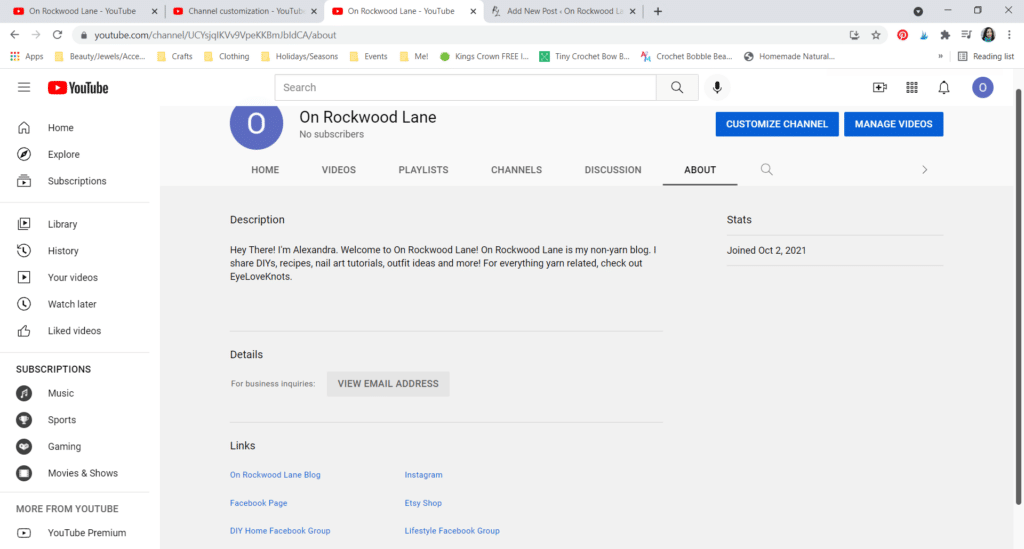
This is what it looks like when you visit your channel, and visit the About section.
Branding
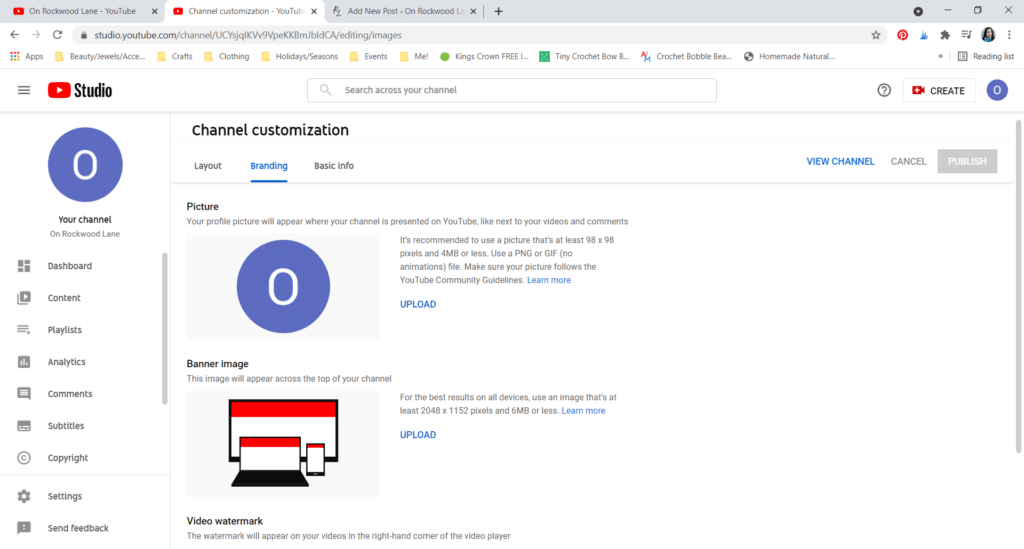
In this Branding section, you can add a photo that represents you and your channel, a banner image that goes across the top of your channel, and a watermark video, which appears on the right hand corner of your channel’s home page.
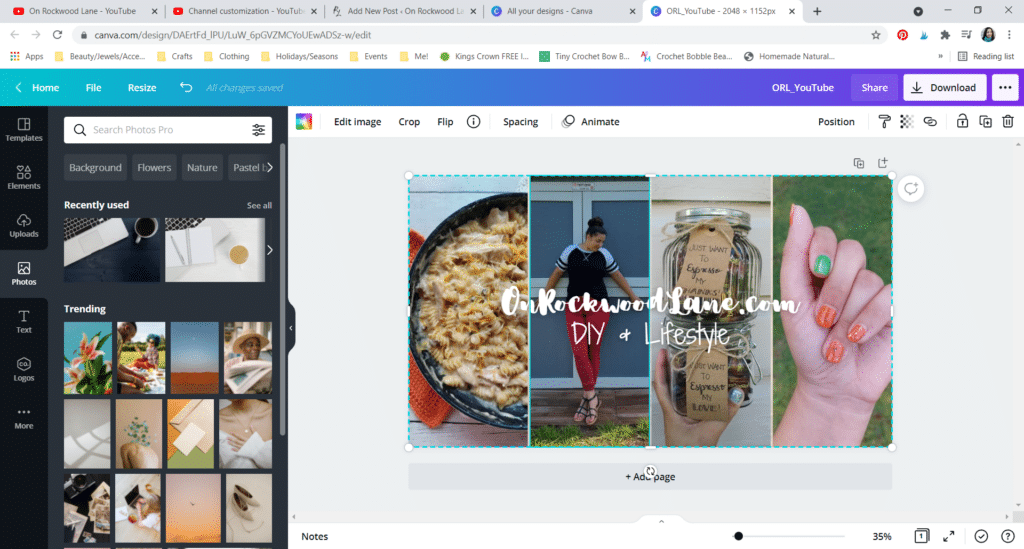
For my banner image, I used Canva. You can use Canva for free, though I have the paid version. For mine, I created my banner from scratch using the 2048 x 1152 pixels dimensions next to the upload button on my channel, but…
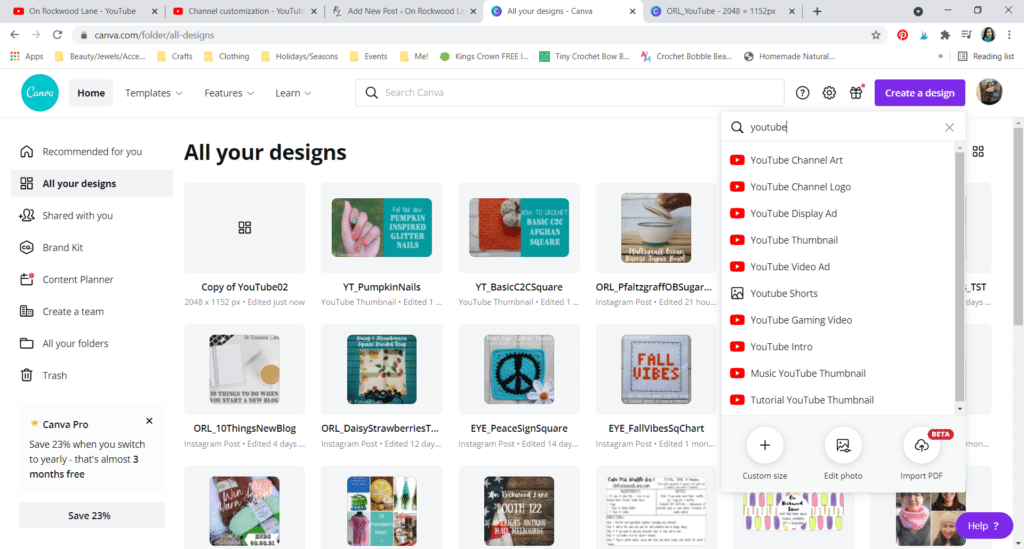
You can type “YouTube” into the search bar, and you will find tons of options including “Channel Art”, which is the banner.
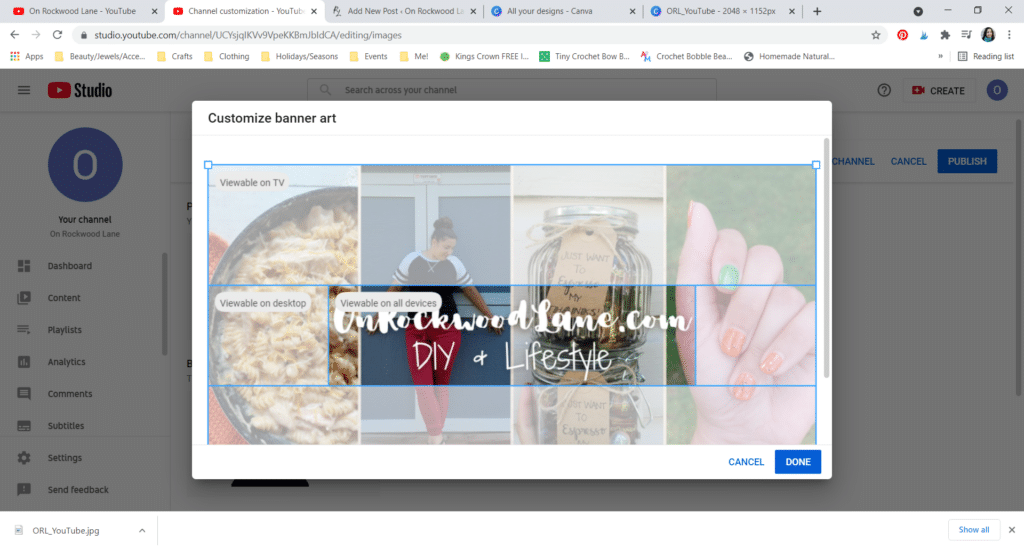
I would recommend 3 or 4 images on your banner image to showcase a little bit about your channel, and then put the name of your channel/blog right in the center so it can always been seen.
When you plug it into YouTube, you will notice that there is a small spot in the center that is visible from all views (there is TV, Desktop and Mobile views) so I recommend keeping your text within this space.
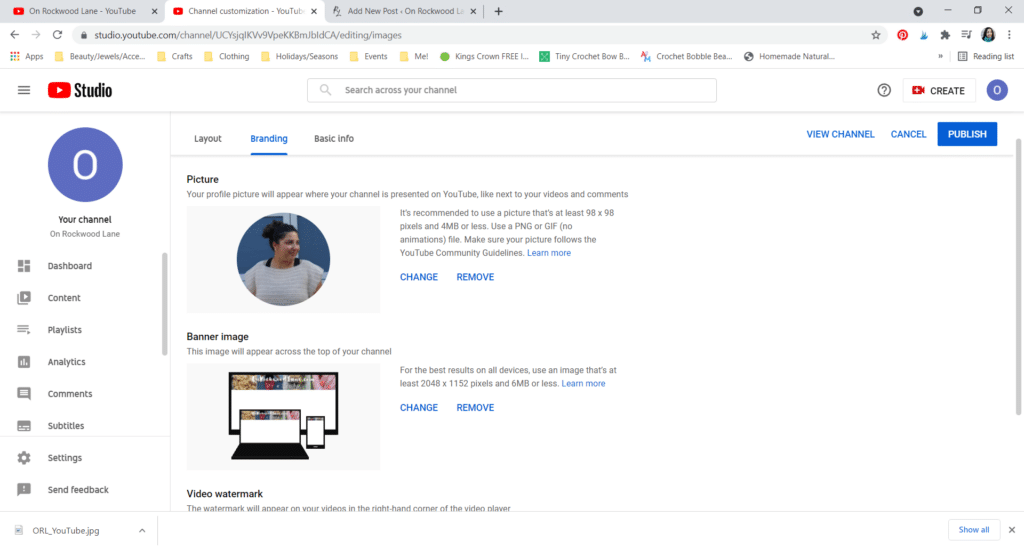
Here is what my Branding section looks like. I do not have a watermark video just yet. Don’t forget to hit Publish.
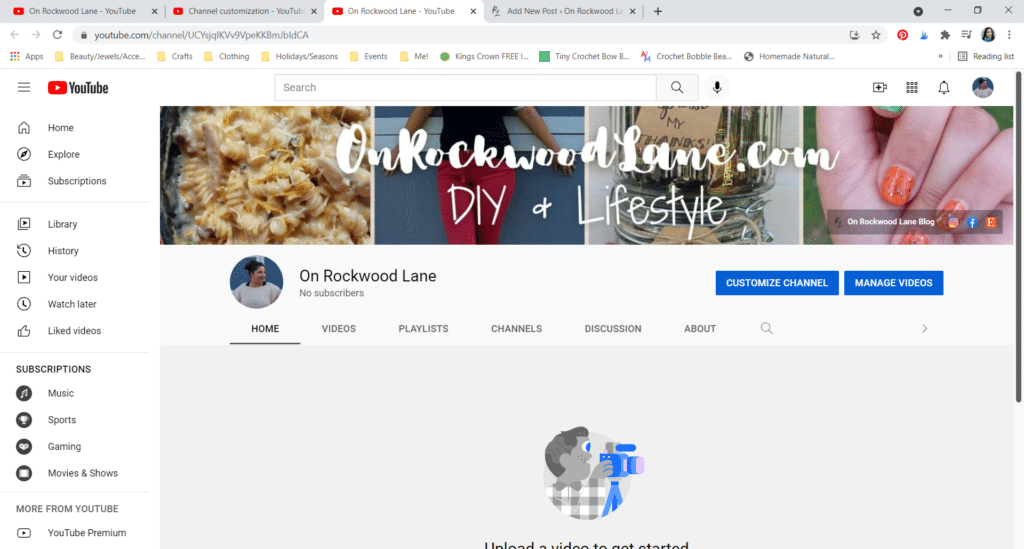
After publishing, this is what my channel looks like. I will have to work on my banner a little bit more so I can make sure the images are visible really well in this view, but for now, I am really happy it’s up 🙂
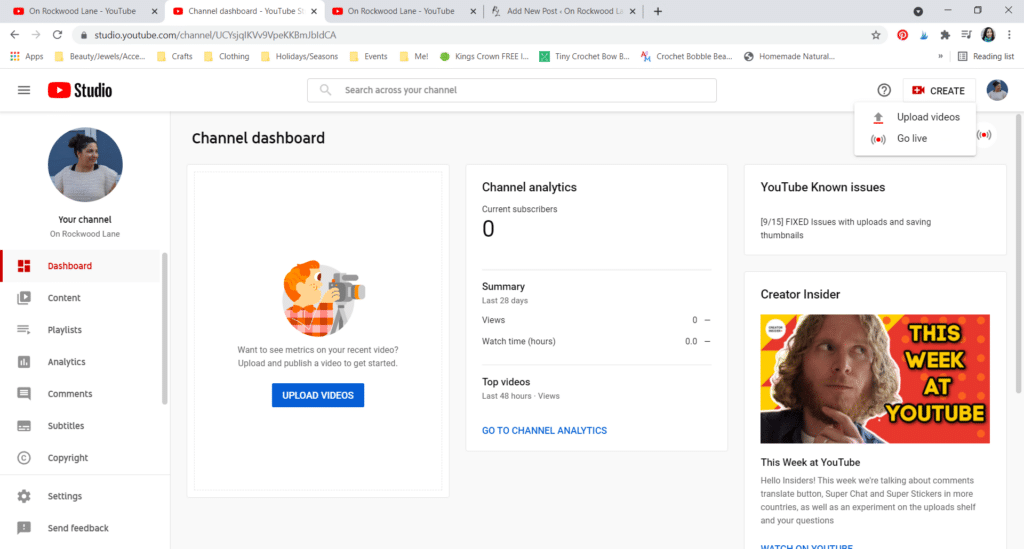
When you’re ready to start publishing videos, click the button next to your icon at the top right that says “Create”, then “Upload videos” (shown from Channel Dashboard).
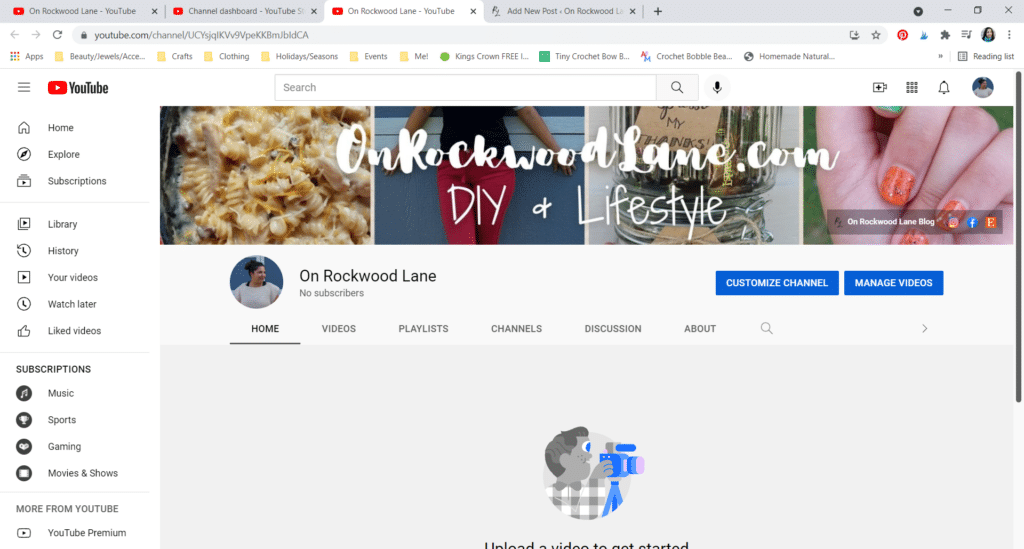
From your channel and home page, the button has the same camera with a plus sign in it, but smaller and doesn’t have words on it. It’s the third icon to the left of your icon at the top right corner.

And that’s it! Best of luck! Drop me a line below telling me what your channel is about, and the link so I can check it out.
Join one of my awesome Facebook groups to share your creations, and see what others are up to!
– EyeLoveKnots Crochet & DIY Community
– DIY Home On Rockwood Lane
– Alexandra Lane Lifestyle
I’ve always wondered about YouTube! Thanks for sharing this great information!
Happy to share! I’ve really been enjoying the process with crochet videos, but I definitely have it on my list for the new year to work on branching out to other videos for this channel, like the outfit reels on Instagram and recipes.
I have had a YouTube channel for several years and I used to post on it a little bit, but I find that editing videos is not my expertise and it takes me FOREVER! I need to get back into it. Thank you for sharing this!
Carrie
curlycraftymom.com
You are not alone! I hated everything about it until I found a program on my computer that makes editing so easy. Now, I love the entire process because it’s easy to work with and understand.
Thank you for this! I created a channel quite a while back, but I’ve never uploaded any videos. I appreciate all of this info about customizing my channel,etc. Maybe I’ll get the courage to make some videos some time in the future!
You should! I would love to see hand lettering tutorials 🙂
Love this post! I started my channel last year and I’m really loving it (although it’s A LOT of work haha!).
Lizzie
http://www.lizzieinlace.com
Your videos are incredible too!
It’s great you’ve started a new channel – I’ve just subscribed to you! I started my channel so long ago I can’t remember how I did all these things, haha!
Hope you are having a good week 🙂 It’s a rainy one here!
Hehe. I know what you mean! That’s how I felt when I started a new blog, and was feeling completely lost.
I’m going to dig into this post, Alexandra. Starting a You Tube channel is where it’s at in blogland!
I also want to invite you to join the Friday with Friends link party – sharing anyone of your posts.
RR
Thanks for the invite, Rachelle! I enjoy partying with you 🙂